A bootable format is one that allows CD-ROMs or DVD-ROMs to open up directly from a PC without the need for a hard drive. For this reason, creating software using a bootable ISO (International Organization of Standardization) system style format is functional. Follow the steps below to get the best of both worlds: bootable, independent files that come up and running quickly along with ISO structure for uniform, yet flexible formatting that spans across Windows, Mac and DOS platforms.
Step 1
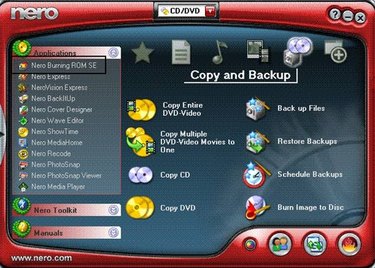
Open the "Nero Burning Rom SE" software program from the Nero Suite menu.
Video of the Day
Step 2
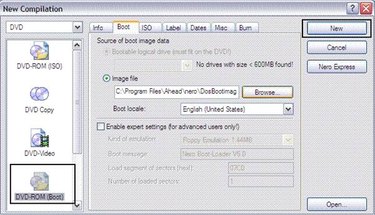
Go to the "ISO" tab From the New Compilation dialog box, and highlight "DVD-ROM (Boot)" format. Then, click the "New" button. (Note: If you are creating a folder for CD-ROM compilations, select "CD" from the pull-down menu within the New Compilation dialog box to bring up the CD-ROM Bootable options.)
Step 3
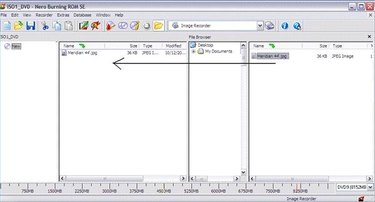
Drag and drop your desired files over to the "bootable" area.
Step 4
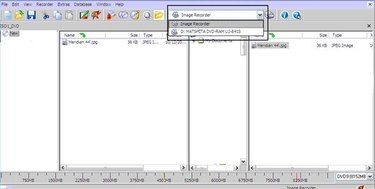
Select the appropriate recording device.
Step 5
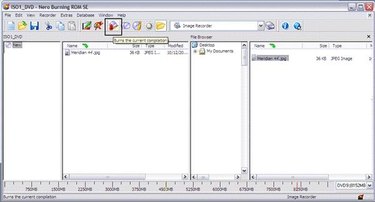
Click on the "Burning Compilation" icon on the toolbar.
Step 6
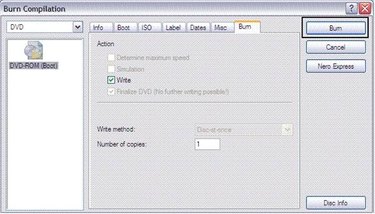
Click "Burn."
Step 7
At the "Save As" prompt, name your file.
Step 8
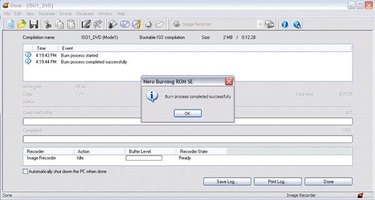
Click "OK" at the end of the burning process, and then click "Done." (Note: You will also have the option to save or print the log for reference information.)
Step 9
Give the folder a name at the "Save As" prompt.
Video of the Day